AR glasses and eyesight have an awkward relationship. The optics project an image from a fixed virtual distance, and if your eyes cannot focus at that distance, you get a blurred picture — and no amount of adjusting the screen will fix it.
The RayNeo Air 4 Pro handles this better than most, but the process has a few steps that are not obvious from the product page. Here is how it works.
Can you wear the Air 4 Pro over your normal glasses?
Technically yes, in practice no.
The Air 4 Pro sits close to your face, and the frame is designed to hug your temples. Fitting a pair of regular spectacles underneath means stacking two sets of optics, which pushes the display further from your eyes than the design intends.
The consequences are predictable: the image drifts outside the eyebox, the edges blur, and the whole assembly presses uncomfortably against your face. It might get you through a film. It is not a solution.
The right approach: prescription inserts
RayNeo includes a prescription lens frame in the box. You take that frame to an optician, or send it to a specialist supplier, and they cut lenses to your prescription and fit them into the frame. The frame then clips into the Air 4 Pro, sitting between your eye and the display.
RayNeo partners with Lensology for this in several markets, and the inserts are ordered separately — they are not included with the glasses.
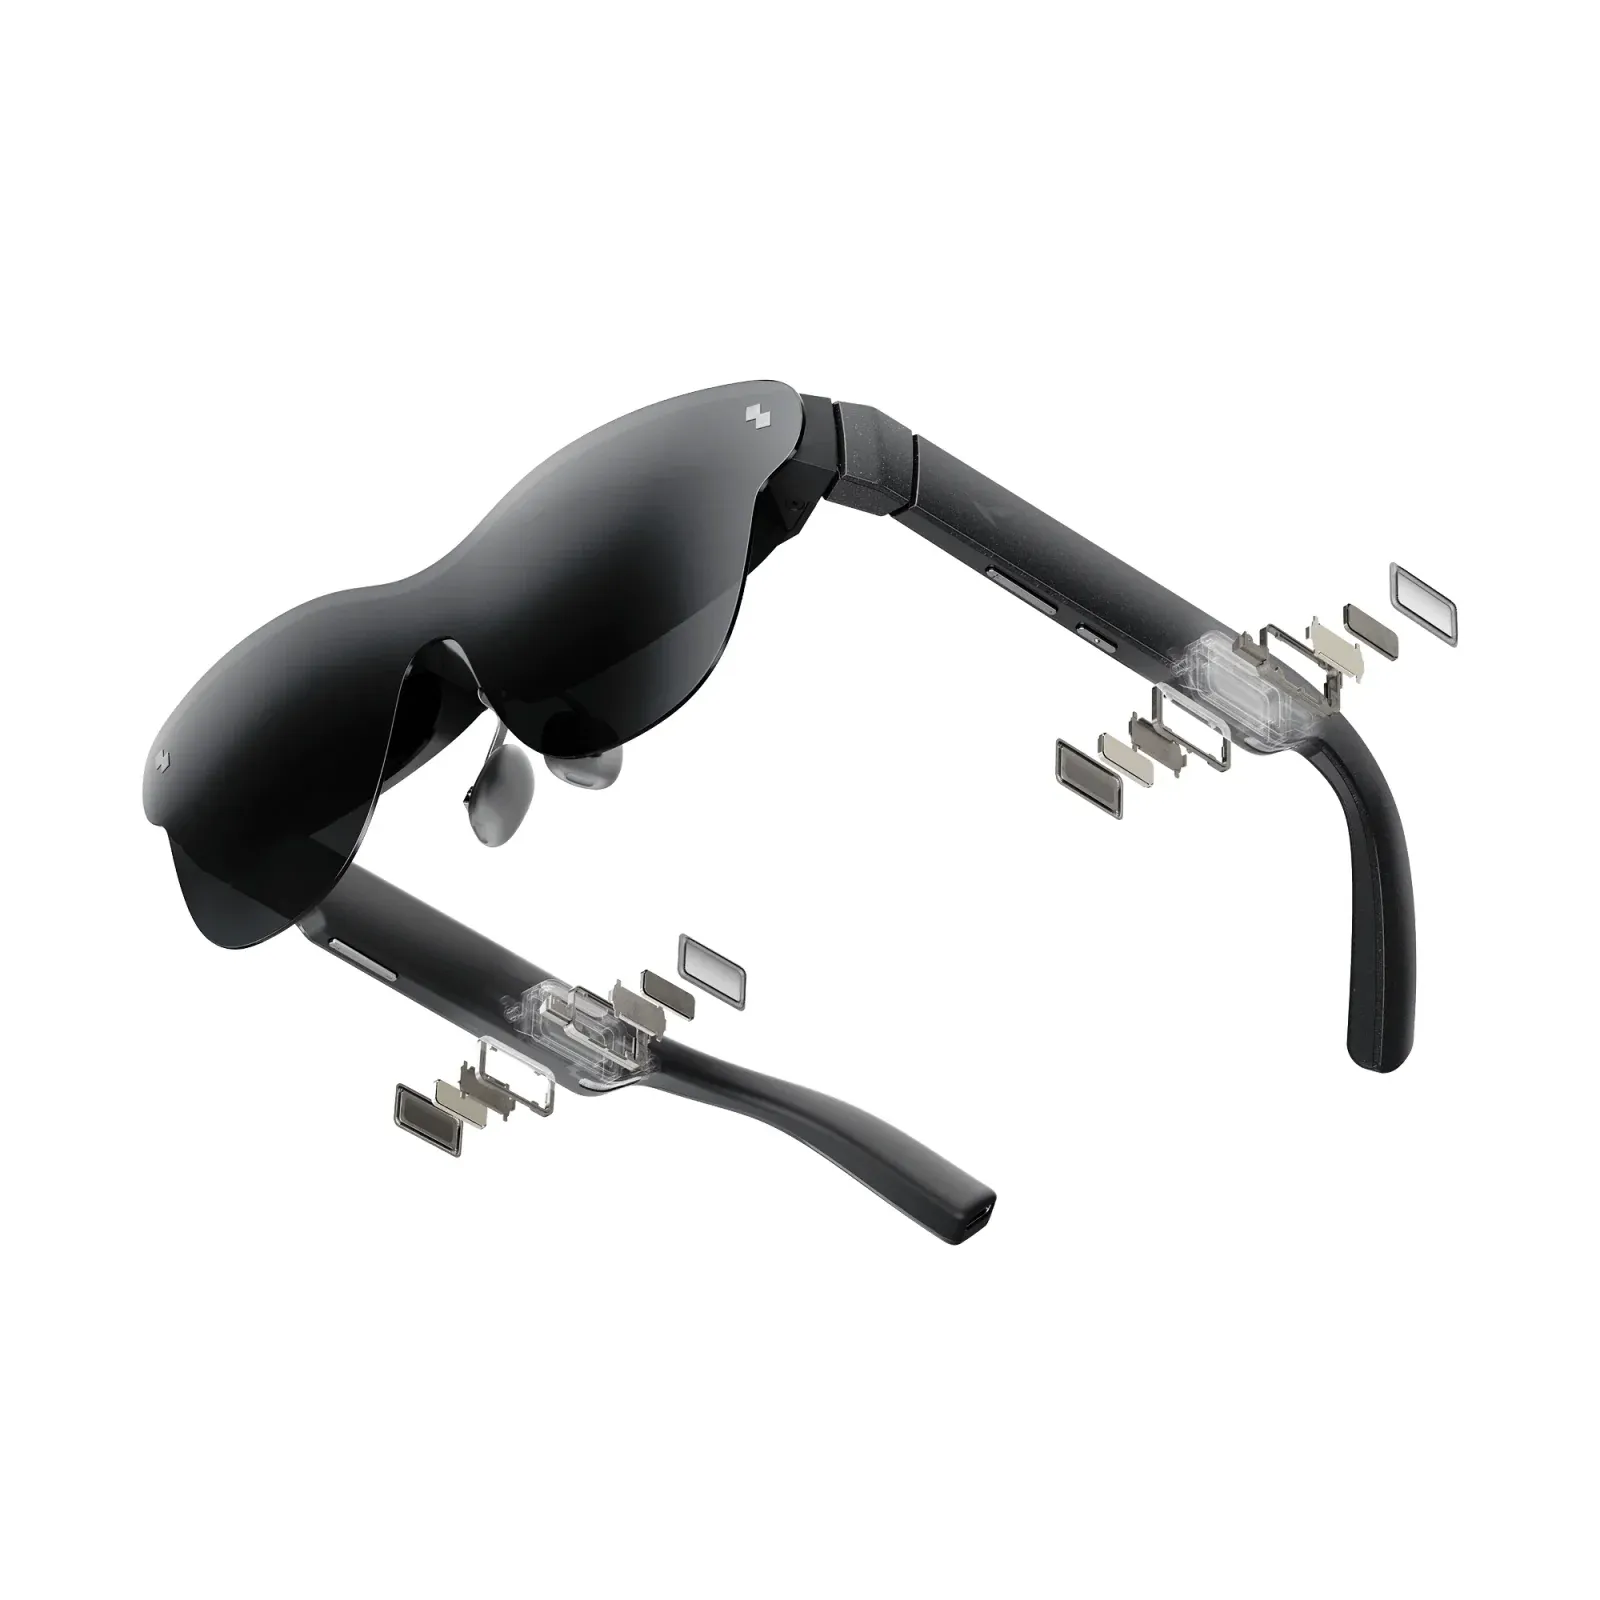 The lens frame slots in between your eye and the display — which is why the fit adjustments matter so much. Image: RayNeo.
What it costs
Expect the inserts to run roughly $60 to $150 depending on your prescription and the coatings you choose. Add that to the $299 price of the glasses when you are budgeting, because for most glasses-wearers it is not optional.
High-index lenses (for stronger prescriptions) and anti-reflective coatings push the price toward the upper end. Given that these are lenses you will look through for hours at a time, the coatings are worth paying for.
What prescriptions are supported
Standard single-vision prescriptions — myopia (short-sightedness), hyperopia (long-sightedness) and astigmatism — are all straightforward.
Progressive and varifocal lenses are a different story. The Air 4 Pro’s virtual image sits at a fixed distance, and progressive lenses are designed for a range of distances with different zones across the lens. The result is often that only part of the virtual screen falls in the correct zone, leaving edges soft. If you wear progressives, talk to your optician before ordering, and consider single-vision computer lenses instead if you use the glasses mainly for screen work.
Fit matters as much as your prescription
Even with perfect inserts, the Air 4 Pro will look blurry if it does not sit correctly on your face. The eyebox — the volume in which your pupils must sit to see the full image — is 14 × 7 mm, which is on the smaller side.
That is why RayNeo built such an elaborate adjustment system:
| Adjustment | Range |
|---|---|
| Temple movement | 9-way (up/down, left/right, forward/back, in/out) |
| Nose pads | 3 positions |
| Temple tilt | 15° |
Getting it right
- Start with the nose pads. Move through all three positions and find the one that puts the screen centre directly in front of your pupils. This is the adjustment with the largest effect.
- Then set the temple tilt. Angling the arms changes how the frame sits vertically against your face. Adjust until the top and bottom edges of the image are equally sharp.
- Then fine-tune the temple width. Push the arms in or out until the frame feels stable without pressing on your temples.
- Check the corners. Look at the four corners of the virtual screen without moving your head. If any corner is clipped, the frame is sitting too high, too low, or too far from your face — go back to step one.
Spend ten minutes on this the first time. It is the difference between a sharp image and a permanent source of frustration.
Common problems and what causes them
Edges blurry, centre sharp
Almost always a fit issue, not an optical defect. The display is sitting fractionally off-axis relative to your pupils. Work through the adjustment sequence above, focusing on the nose pads first.
Only one eye is blurry
Check that the frame sits level — a slight tilt means one eye is further outside the eyebox than the other. Then remove and reinstall the prescription inserts, confirming both are fully seated. A partially clicked-in insert is a common culprit.
Can’t see the whole screen
The image is clipped at the corners or edges. The frame needs to sit closer to your eyes or higher on your nose. If you cannot achieve it with the available adjustments, your facial geometry may simply fall outside what the Air 4 Pro accommodates — worth knowing within the return window.
Image still soft after adjustment
Confirm your prescription is current. These glasses magnify imperfections in a way that ordinary spectacles do not, and a prescription that felt adequate for reading may feel soft here. If your astigmatism correction is borderline, this is a product that will expose it.
Eye strain after long sessions
Check which display preset you are using. The Air 4 Pro offers Eye Protection mode with reduced blue light, and the panel runs 3,840 Hz PWM dimming with TÜV SÜD certification for flicker-free operation. If you still get strain, drop the brightness a level and take a break every hour — the same advice that applies to any screen, magnified by the fact that this one is two centimetres from your eyes.
Is it worth it?
If you wear glasses and you want to use AR glasses for films and gaming, prescription inserts are not a workaround — they are the correct way to use the product, and RayNeo’s inclusion of a lens frame in the box makes it easier than on most competitors.
Budget $360 to $450 all in for the glasses plus lenses. That still lands below the $599 of the XREAL One Pro before you have added anything to it.
For everything else about the hardware, start with our full review or the spec breakdown.